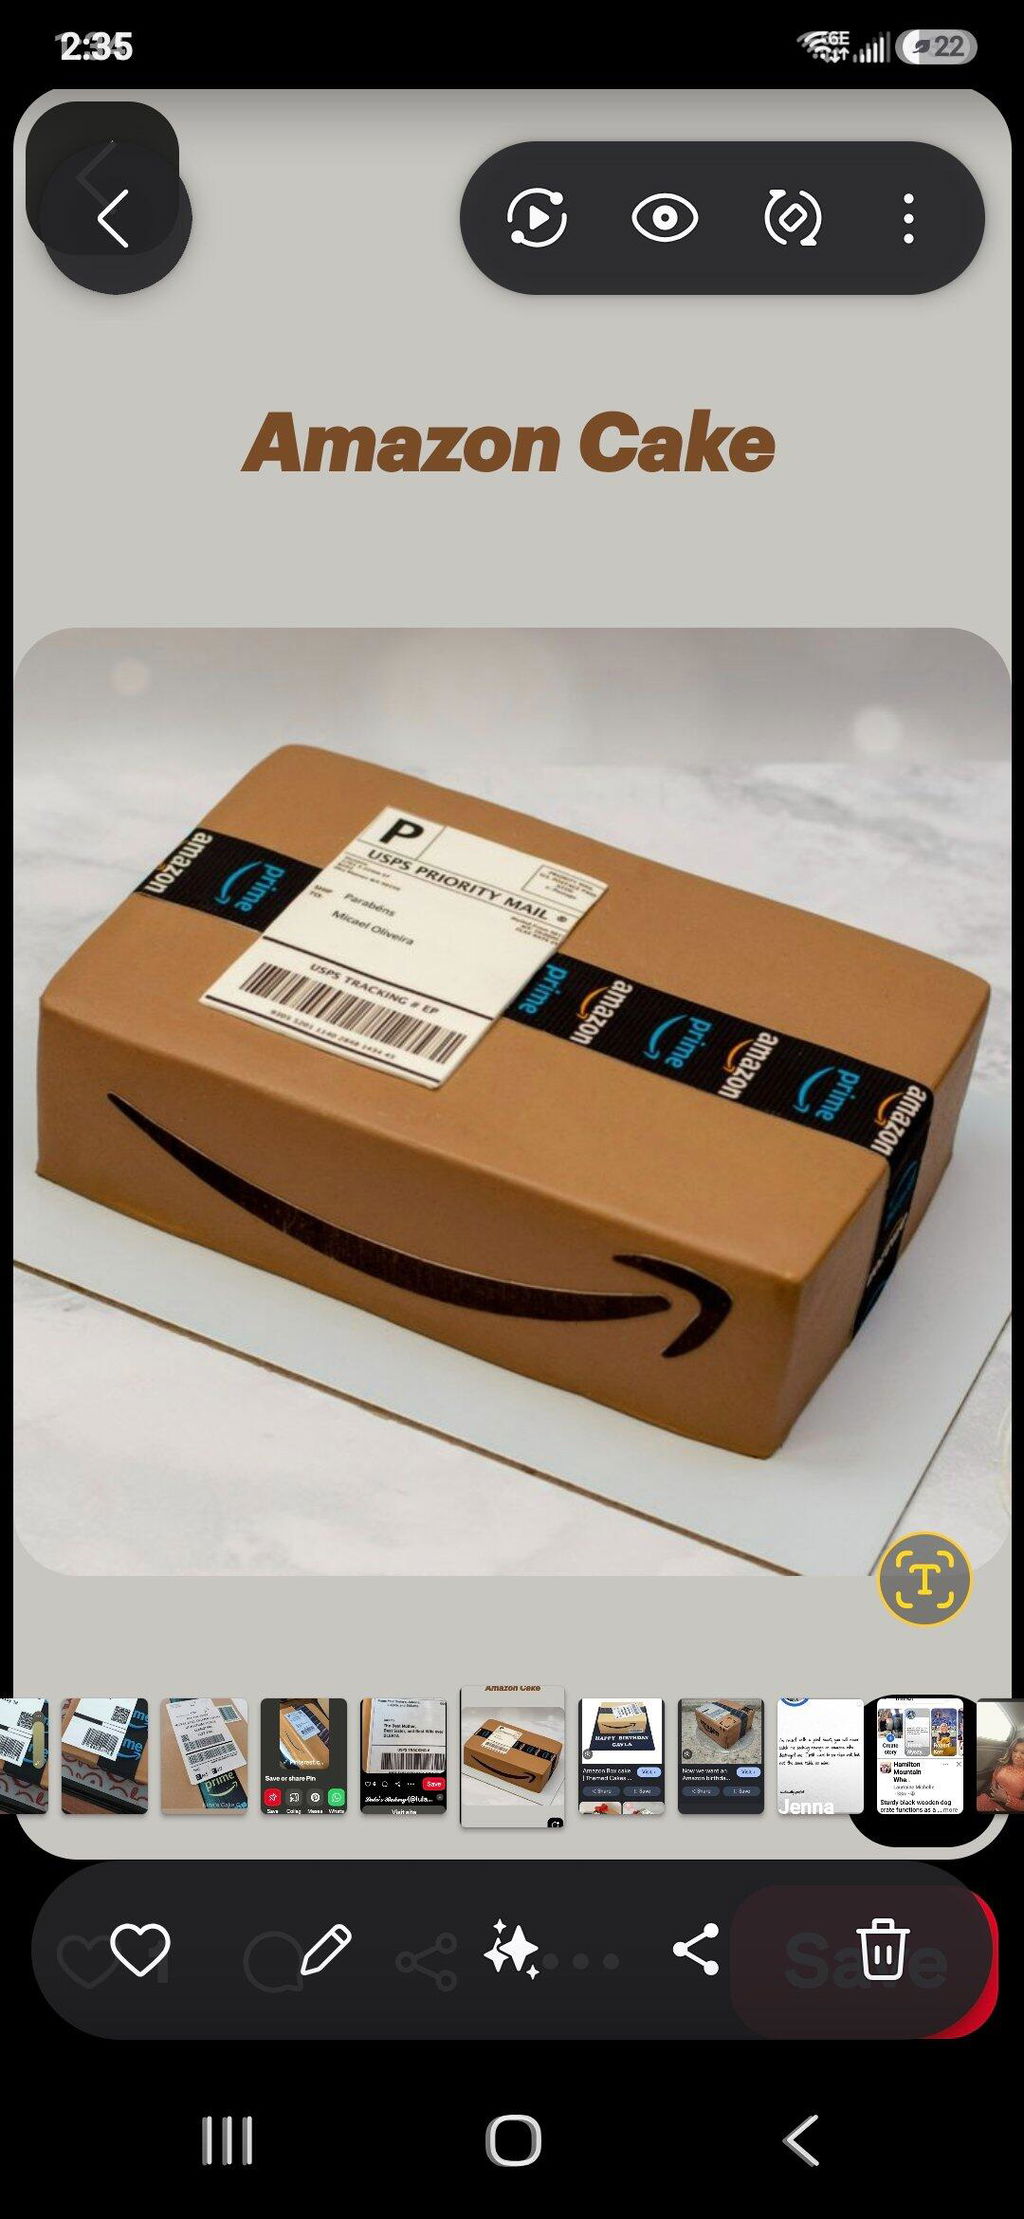
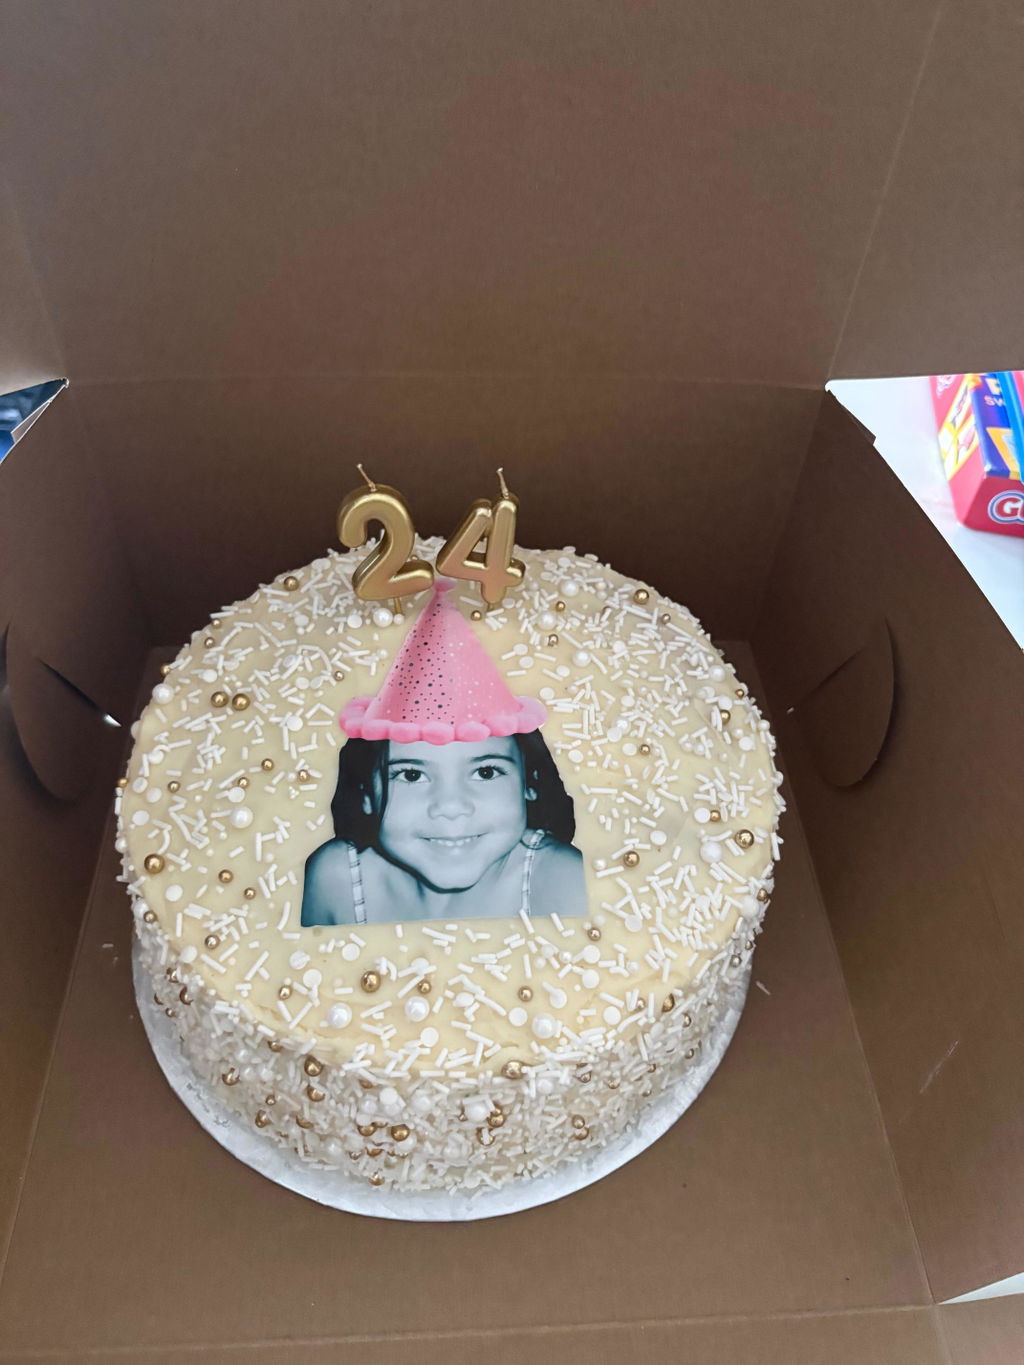
How to Remove a White Background from an Edible Logo Print

A white rectangle behind a logo can look intentional—or like an accidental sticker. Decide which effect you want before arranging your custom edible sheet.
Clean up the artwork in four quick checks
- Choose the finish first. Keep the white background when it acts as a deliberate frame or improves contrast. Remove it when you want the logo’s outside shape to feel cleaner on the finished decoration.
- Start with the right file. The 8×11 custom edible-sheet builder accepts common artwork files and recommends PNG for clean edges and transparent backgrounds. JPG is useful for photographs, but it does not preserve transparency.
- Use Remove White, then inspect. The builder’s Remove White tool can drop an unwanted white box. Zoom in afterwards: if white is an important part of the logo, confirm it has not been removed with the background.
- Trim invisible space. After background removal, use Trim Transparency. Empty transparent pixels around the artwork can make the visible logo seem smaller than the size shown.
Tap for the 15-second logo preflight
Check the final size, logo count, spelling, transparent edges and any quality warning. Keep important details away from a cut edge, then preview the whole sheet once more before adding it to the cart.

One final print check
Review artwork at its actual printed size. The product page recommends about 300 DPI at final size and notes that edible-ink colour may differ slightly from a screen. If the file needs more than simple cleanup—such as rebuilding a logo, adding text or creating a theme—request design help before production.
Ready to arrange your artwork? Build an 8×11 custom edible image sheet. Edible Final Touch prints the decoration; you or your baker supplies the cake or treats.