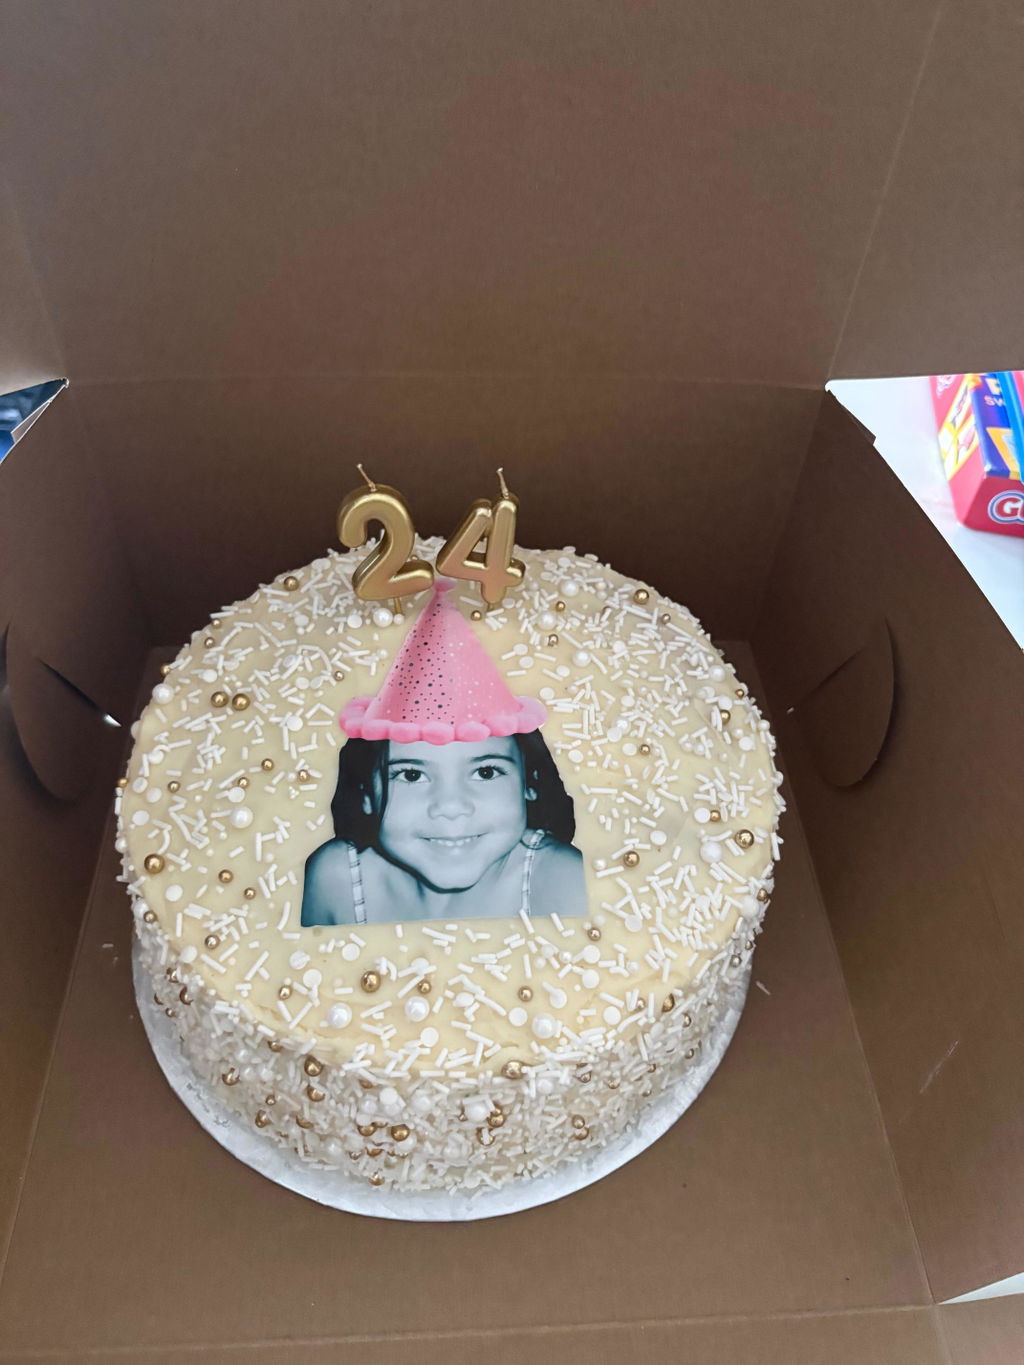
How to Add a Fresh-Fruit Border Around an Edible Cake Image

A custom edible image can be the star of a cake without leaving the rest of the surface empty. A ring of fresh fruit adds colour, texture and a natural frame—especially when you plan the spacing before making the first cut.
1. Start with the printed centre
Choose or build your artwork on a custom 8 × 11 edible image sheet. Keep names, faces and other important details away from the image edge so the fruit border never crowds them.
2. Leave a breathing-space ring
Set the image in position, then leave a slim band of visible icing around it. This white space separates the print from the fruit and makes both elements easier to read in photos.
3. Repeat shapes, not just colours
Try one larger slice, one smaller slice and one berry as a repeating unit. Strawberry halves, kiwi half-moons and blueberries create an easy rhythm. A small serrated paring knife can help make neat fruit pieces; the three-piece Solingen knife set is a decorating tool, not an edible decoration.

4. Control the moisture
Wash and thoroughly dry the fruit before slicing, then blot cut surfaces if they are juicy. Keep juice away from the printed centre. Add the fruit at a time that suits its freshness, and always follow the cake recipe’s refrigeration requirements.
Tap for a 30-second border check
- Is the centre artwork straight?
- Is there visible icing between image and fruit?
- Are repeated fruit groups evenly spaced?
- Are all cut surfaces dry and tidy?
Ready to plan the centre first? Create your edible image, then let the fruit echo two or three colours from the artwork for a border that feels designed—not crowded.